.jpg)
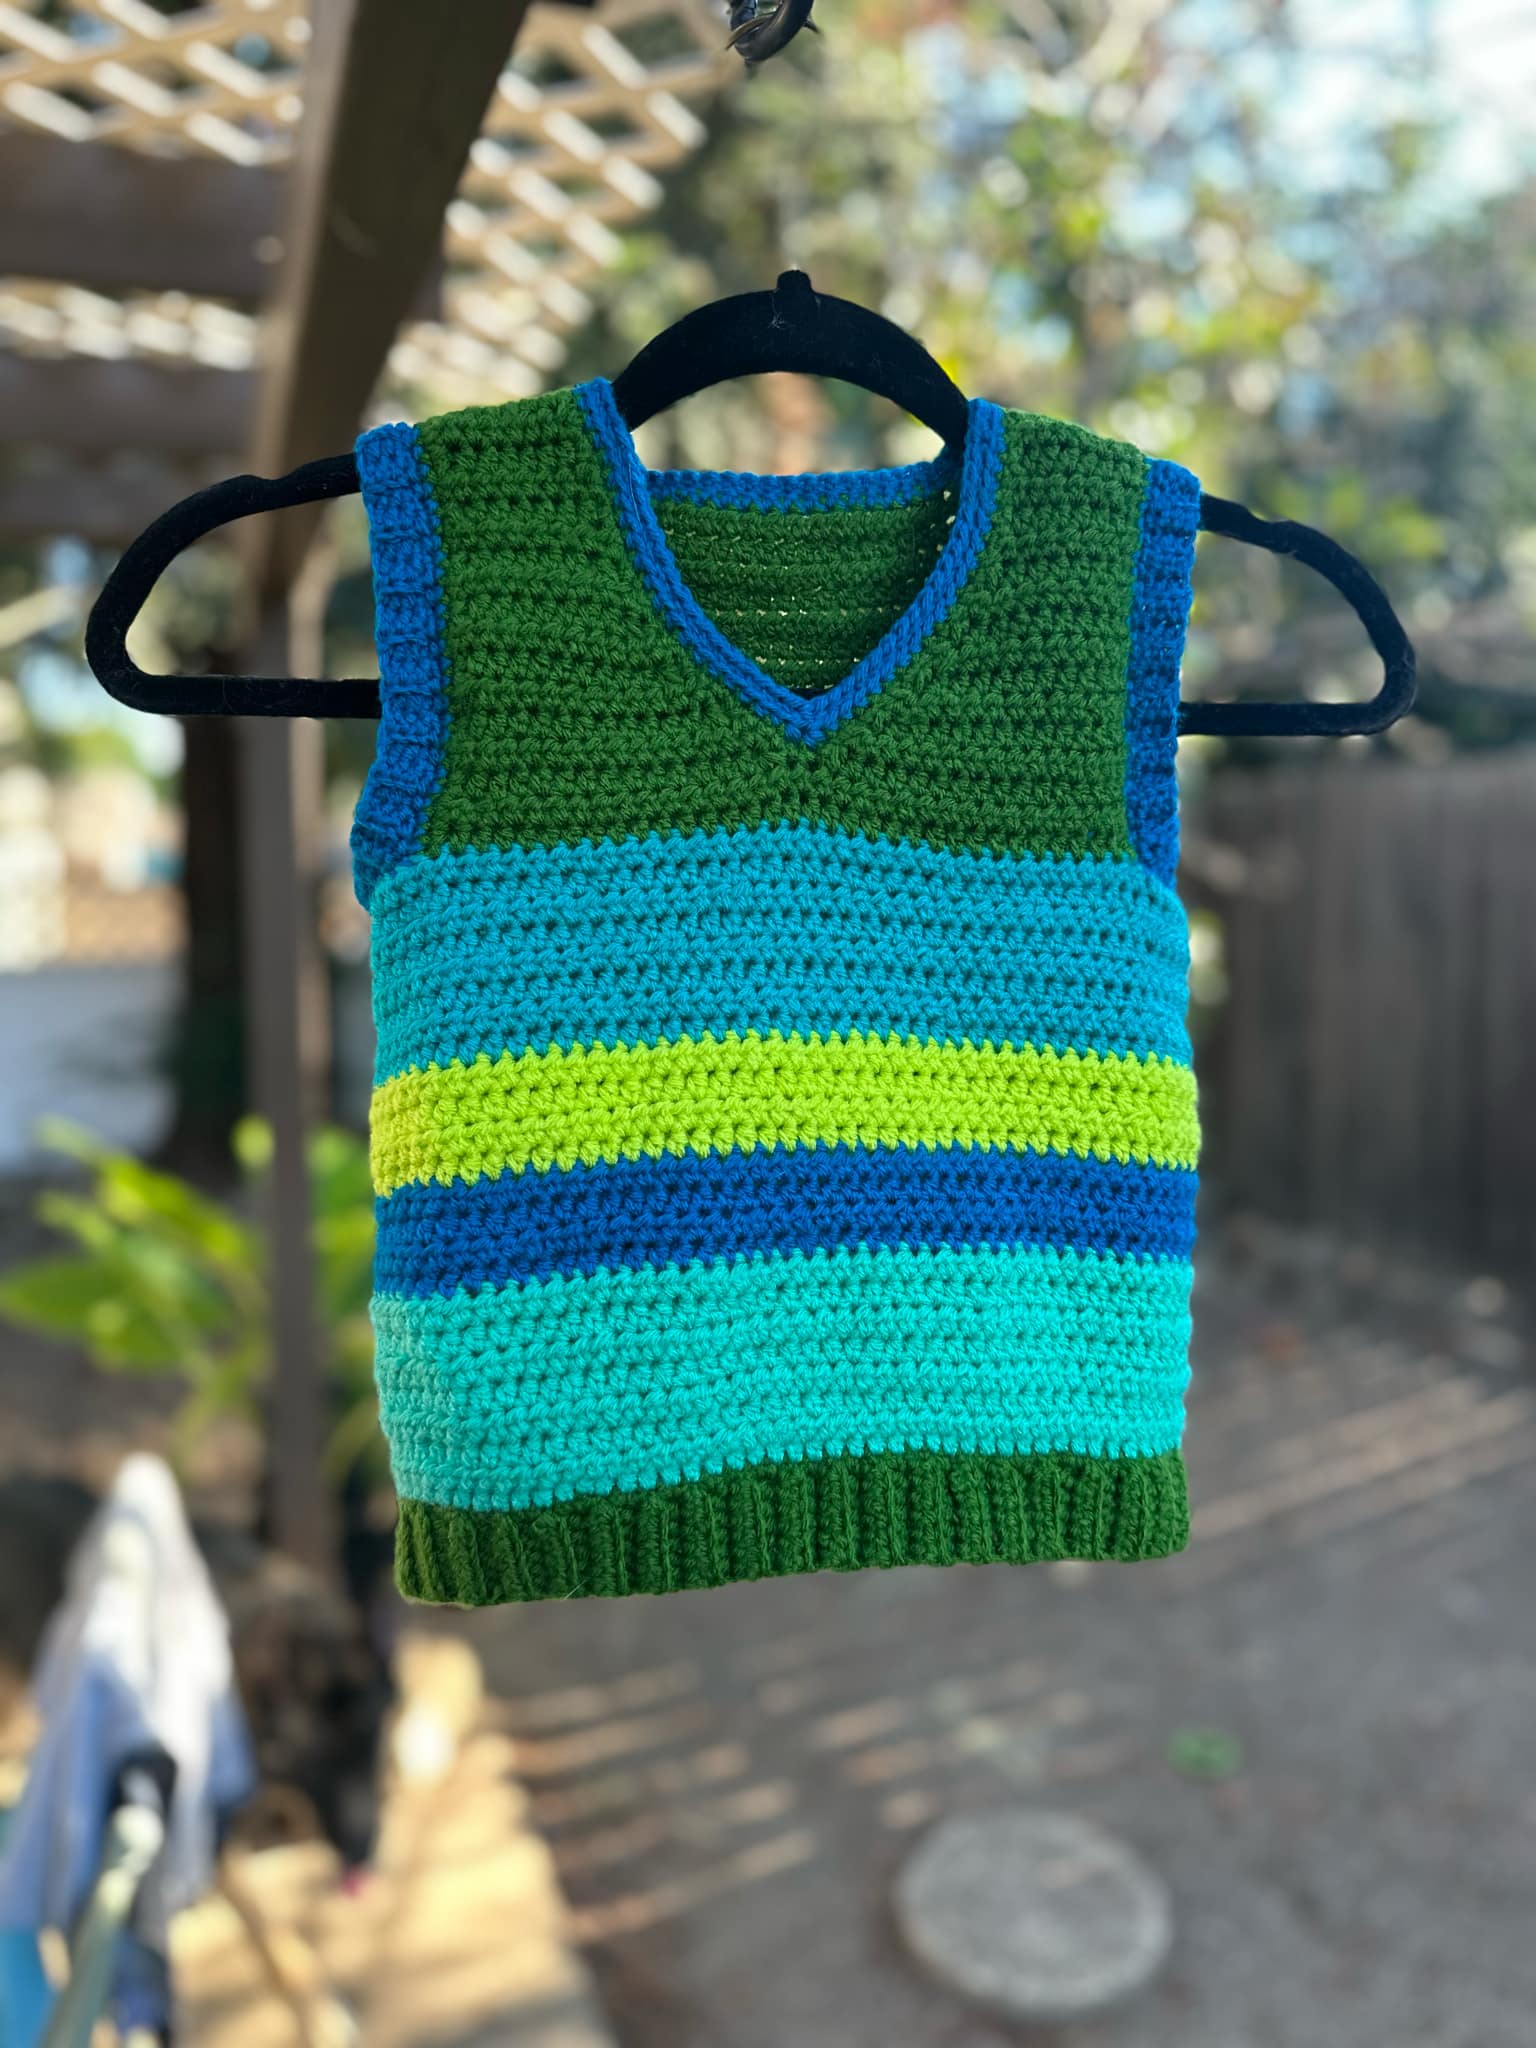
This is a charming, color block V neck vest with simple shaping. It has 3” positive ease. The colors can be easily customized for boys or girls. It can also be made in a solid color with contrasting ribbing.
I was planning to make a modern, color block cushion with the Furls Wander Yarn. When I received the yarn, I just fell in love with it. It's very soft, smooth and has satin like finish. I thought that it is more suitable for garments and I decided to design a basic V neck vest in kids sizes. And I am glad I did. The yarn creates beautiful garment that has great drape. There are so many colors to choose from.

Sizes: 2 (4, 6, 8, 10, 12, 14, 16)
Garment chest: 24” (26”,
28”, 29”, 31”, 33”, 35”, 36”)
To fit chest: 21” (23”,
25”, 26”, 28”, 30”, 32”, 33”)
Garment length: 13.5” (15.5, 17”, 18.5”, 20”, 21”, 22”, 23.5”)
Materials:
· Furls
Wander Yarn (110% Acrylic, 120 yds/109 m, 3.5 oz/100gm) or any worsted weight (11-10
WPI) yarn in 5 colors:
o C1 (Mist): 55 (67,
81, 90, 104, 117, 126, 141)
yds
o C2 (Ambrosia): 66 (80, 97, 108, 125, 141, 152, 170)
yds
o C3 (Snow): 28 (34, 41, 45, 53, 59, 64, 71)
yds
o C4 (Surf): 56 (67, 81, 91, 105, 118, 126, 142)
yds
o C5 (Midnight): 74 (90, 108, 121, 140, 157, 170, 189)
yds
·
5
mm and 4 mm crochet hooks (or size needed to obtain the gauge)
·
Stitch
markers
·
Yarn
needle
Abbreviations
(American terminology):
· Ch = chain
·
St/s
= stitch/es
·
Sc
= single crochet
·
Hdc-blo
= half double crochet back loop only
·
Hdc2tog
= half double crochet two together
·
WS
= wrong side
· RS = right side
Gauge:
·
13
hdc by 11 rows = 4” by 4” (with larger hook)
·
13
rows of hdc-blo = 4” (with smaller hook)
Special stitches:
· Modified hdc2tog: YO, insert hook in indicated
st, pull up a loop (3 loops on the hook), YO, pull through 2 loops, insert hook
in the next st and pull up a loop (3 loops on the hook), YO, pull through all
the 3 loops on the hook.
Notes:
·
Ch
1, does not count as a stitch.
·
Where
hdc2tog or decrease is mentioned, add modified hdc2tog, which is less bulky
than regular hdc2tog. But if you wish, you can use regular hdc2tog.
·
The front has 2 extra rows. This is done purposefully to
shape the shoulders.
· Change colors according to the chart. For vest body, use colors in sequence C1, C2, C3, C4 and C5. For hem ribbing use C5. For neck edging and armhole ribbing, use C2.
Total number of rows/ rounds does NOT include foundation sc round.
Also note that the front section will have 1 more row than the number of rows mentioned for C5 and back section will have 1 row less than the same number.
Ex. For size 2, chart indicates 15 rows with C5. You will work 16 rows for front and 14 rows for back with C5. After sewing the front and back at shoulders, front and back will both have 15 rows. This adjustment is only for shoulder shaping.
|
Size |
Number of rounds/rows
with each color |
Total
rounds/ rows |
||||
|
C1 |
C2 |
C3 |
C4 |
C5 |
||
|
2 |
6 |
3 |
3 |
6 |
15 |
33 |
|
4 |
7 |
3 |
3 |
7 |
18 |
38 |
|
6 |
8 |
4 |
4 |
8 |
18 |
42 |
|
8 |
9 |
4 |
4 |
9 |
19 |
45 |
|
10 |
9 |
5 |
5 |
9 |
22 |
50 |
|
12 |
10 |
5 |
5 |
10 |
22 |
52 |
|
14 |
10 |
5 |
5 |
10 |
24 |
54 |
|
16 |
11 |
6 |
6 |
11 |
24 |
58 |
Pattern:
Hem ribbing:
With smaller hook and C5,
Row 1: ch 7 (7, 7, 9, 9, 9, 11, 11), hdc
in 2nd ch from the hook and in each ch. (6, 6, 6, 8, 8, 8, 10, 10 sts)
Row 2-66 (70, 76, 80, 84, 90, 94, 96): ch 1, turn, hdc in 1st st, hdc-blo
to last st, hdc in last st.
Fold the ribbing in half and join the short
ends together with sl sts.
Now
turn the ribbing and work along the top.
With larger hook,
Foundation round (RS): ch 1, add 80 (84, 92, 96, 100, 108, 112, 116) sc
evenly across the ribbing. Count your sts at the end and adjust if needed. (Add
6 sc across every 5 ribbing rows). Join with sl st to 1st st.
Change
to C1. Do
NOT turn.
Round 1 (RS): Ch 1,
hdc in each st, join with sl st to 1st st. 80 (84, 92, 96, 100, 108, 112, 116)
Vest is now worked in joined and turned rounds up to
armholes. Do not forget to change the colors as per the chart when you work.

Vest is now divided into
front and back portions, and worked back and forth in rows.
Back:
Shape Armholes:
Row 1: Ch
1, turn, sl st in 5 (5, 6, 6, 6, 6, 7, 7) sts,
hdc in next 30 (32, 34, 36, 38, 42, 42, 44) sts,
leave next 10 (10, 12, 12, 12, 12, 14, 14) sts
unworked, and place a
stitch marker in next st. Yarn will be attached here for front portion. (30, 32, 34, 36, 38, 42, 42, 44) sts
Row 2: Ch
1, turn, hdc2tog, hdc in each st to last 2 sts, hdc2tog over
last 2 sts. (28, 30, 32, 34, 36, 40, 40, 42) sts
Row 3-14 (15, 17, 18, 19, 21, 23, 23): Ch 1, turn, hdc in
each st. (28, 30, 32, 34, 36, 40, 40, 42) sts.
Fasten off.
.jpg)
Front:
Right side facing, attach the yarn to the marked stitch.
Shape Armholes:
Row 1: Ch
1, hdc
in next 30 (32, 34, 36, 38, 42, 42, 44) sts,
leave rem sts unworked. (30, 32, 34, 36, 38, 42, 42, 44) sts
Row 2: Ch
1, turn, hdc2tog, hdc in each st to last 2 sts, hdc2tog over
last 2 sts. (28, 30, 32, 34, 36, 40, 40, 42) sts
Only for sizes 12, 14 and 16:
Row 3-4: Ch 1, turn, hdc in each st. (28, 30, 32, 34, 36, 40, 40, 42) sts
Shape left neck:
Row 1: Ch
1, turn, hdc in next 12 (13, 14, 15, 16, 18, 18, 19) sts, hdc2tog over next 2 sts. Place a stitch marker in next
st. Yarn will be attached here for right neck. (13, 14, 15, 16, 17, 19, 19, 20) sts.
Row 2: Ch
1, turn, hdc2tog over 2 sts, hdc in rem sts. (12, 13, 14, 15, 16, 18, 18, 19) sts.
Row 3: Ch
1, turn, hdc in each st to last 2 sts, hdc2tog over last 2 sts. (11, 12, 13, 14, 15, 17, 17, 18) sts.
Repeat last 2 rows to row 8 (9, 9, 10, 11, 11, 11, 12). (i.e. reduce
the sts on neck edge for 5 (6, 6, 7, 8, 8, 8, 9) more
rows).
Total 8 (9, 9, 10, 11, 11, 11, 12)
reductions on neck edge. (6, 6, 7, 7, 7, 9, 9, 9) sts.
Work 6 (6, 8, 8, 8, 8, 10, 9) more hdc rows
without any decreases. Fasten off leaving a long tail to sew the shoulders.
NOTE: Front has 2 more rows than the back. This is
done purposefully to shape the shoulders.
Shape right neck:
Right side facing, attach the yarn to the marked stitch.
Row 1: Ch
1, hdc2tog over 2 sts, hdc in next 12 (13, 14, 15, 16, 18, 18, 19) sts. (13, 14, 15, 16, 17, 19, 19, 20) sts.
Row 2: Ch
1, turn, hdc in each st to last 2 sts, hdc2tog over last 2 sts. (12, 13, 14, 15, 16, 18, 18, 19) sts.
Row 3: Ch
1, turn, hdc2tog over 2 sts, hdc in rem sts. (11, 12, 13, 14, 15, 17, 17, 18) sts.
Repeat last 2 rows to row 8 (9, 9, 10, 11, 11, 11, 12). (i.e.
reduce the sts on neck edge for 5 (6, 6, 7, 8, 8, 8, 9) more
rows).
Total 8 (9, 9, 10, 11, 11, 11, 12)
reductions on neck edge. (6, 6, 7, 7, 7, 9, 9, 9) sts.
Work 6 (6, 8, 8, 8, 8, 10, 9) more hdc rows
without any decreases.
Fasten off leaving a long tail to sew the shoulders.
.jpg)
Sewing shoulders:
Thread the yarn tails onto tapestry needle. Wrong sides
together, join the front panels with back panel at shoulders, with whip stitch.
Alternatively, you can use slip stitches for joining.
Neck edging:
Right side facing, join C5 yarn, to any shoulder seam.
Row 1: Add sl
sts evenly along the neckline, join with sl st. Place a stitch marker at the corner
sl st of V neck.
Fasten off C3. Join
C2.
Continue without turning.
Row 2: Ch
1, sc in each st to 2 sts before the marked sl st, sc2tog over st before and st
after the marked sl st (do not work in marked st), move marker to sc2tog, sc in
each st. Do NOT join.
Repeat last row 1 (1,
2, 2, 2, 2, 3, 3) more time/s. Join with sl st after
last row. Fasten off C2.
Armhole ribbing:
Right side facing, join C5/C4 yarn
to the centre of underarm portion.
Row 1: Add sl sts evenly along the armhole, in colors,
matching the body colors,.
NOTE: You can change the to C4 when
working along the C4 body portion to match the color. The sl st
color should match with the vest body color. Fasten off C3/C4. Join
C2. Continue
without turning.
Row 2: Ch 4 (4, 4, 5, 5, 5, 6, 6), hdc in 2nd ch from the hook and in
each ch. Sl st into next 3 sts on row 1. (3, 3, 3, 4, 4, 4, 5, 5) sts
excluding sl sts.
Row 3: Do NOT ch, turn, sk 3 sl sts, hdc-blo in each st to last
st, hdc in last st. (3, 3, 3, 4, 4, 4, 5, 5) sts
Row 4: Ch 1, turn, hdc in 1st st, hdc-blo in rem sts,
sl st into next 3 sts on row 1. (3, 3, 3, 4, 4, 4, 5, 5) sts
Repeat rows 2 and 3 all around.
NOTE: On
last row repeat, you may need to work sl sts into 2 or 4 sts, depending upon
total number of sc on row 1. Join
last row with first row with sl sts or whip stitch. Fasten off C2.
Repeat for the other
armhole.
If you are new to this technique, here is a
great video
tutorial by Dora Does.
Finishing off:
Weave in the ends.
Check out the vests made by my teststers.


Follow for more patterns: Ravelry, Instagram
Please do not sell, copy or redistribute the pattern. However, feel
free to make and sell your work.
Comments
Post a Comment